Navigate Here: Implementation > Transfer Management > Browse Transfers; select a transfer.
You can edit a transfer's general information on Edit Transfer page.
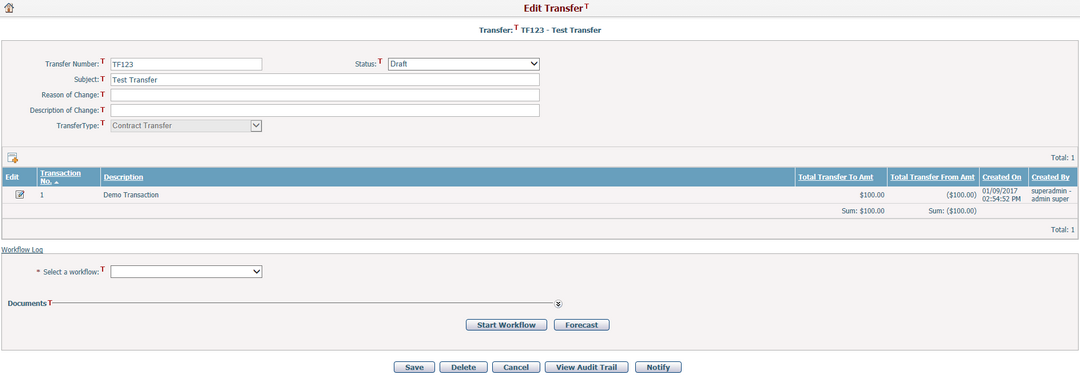
The operations allowed are determined by the transfer's Status. There are four statuses for selection: Draft, Under Review, Approved, Rejected and a system defined status: Implemented.
Draft: Indicates the initial phase when the transfer is being facilitated. Under this status, you can edit transfer general information, delete the transfer, and add/edit/delete transfer line items.
Under Review: Indicates that the transfer is in a review process. This status is normally used by workflow process automatically.
Approved: Indicates that the transfer is authorized to be in effect. Under this status, transfer general information and its transfer transactions cannot be modified again. If auto-implement process is enabled by configuration, the system will implement the transfer into the corresponding entities (usually a contract) as soon as it is being Approved, and change the transfer status into Implemented automatically.
Rejected: Indicates that the transfer is void. You can change the transfer for review again as in Draft status.
Implemented: Indicates that the transfer is executed to put the changes into corresponding contract. Under this status, transfer general information and transfer transactions are read-only.
General Information
General information can be edited when the transfer Status is Draft, Under Review or Rejected.
The required fields are noted with an asterisk (*).
Transfer Number: The identification number of this transfer..
Status: The initial status is always set to Draft when adding a new transfer.
Subject: Subject of this transfer.
Reason for Change: The change reason for this transfer.
Description of Change: The brief description of this transfer.
Once you've finished editing, click the Save button to save the transfer.
You can click the Delete button to delete the transfer. A dialog will prompt for confirmation before the transfer can be deleted from the system. The system will then go to the Browse Transfers page.
You can click the Cancel button to abort the current operation and go to the Browse Transfers page or return to the original entrance.
You can view the change history of this transfer by clicking the View Audit Trail button. The system will then open the Browse Audit Trail Details page in a new window.
You can click the Notify button to send notification to relevant persons about the transfer. The system will then go to the Send Notification page.
If the transfer related workflow is activated, you can click the Start Workflow button to initiate the workflow or Forecast button to see the workflow activities’ detail.