Navigate Here: Utilities > Custom Field Management > Browse Entities, click the New icon ![]()
You can add a custom entity on the Add Entity page when you in CIPAce™ Implementation Version.

To add a custom entity, first provide the general information by filling in the following fields:
The required fields are noted with an asterisk (*).
Display Name*: The name of the custom entity.
Plural Display Name*: The name of the custom entity in plural format.
Table Name*: Basic table name used by system, the prefix is set as “cstm_” for custom entities.
Support Document: Option to select if the custom entity can associate with documents and a document control box can be configured in the general form for document uploading purpose. It will be checked by default.
Support Workflow: Option to select if the custom entity can support workflows. It will be checked by default.
You can click the Reset button to clear all fields and input again.
Once you've finished, you can click the Save button to save the new custom entity. You will be directed to Browse Entities page.
You can click the Cancel button to abort the current operation and go to the Browse Entities page.
After the new custom entity has been successfully created, it can support attribute/form/view/relationship just as other CIPAce™ embedded entities.
Example: Add new Book and Author Custom Entities
Step 1: Add Book and Author custom entities.

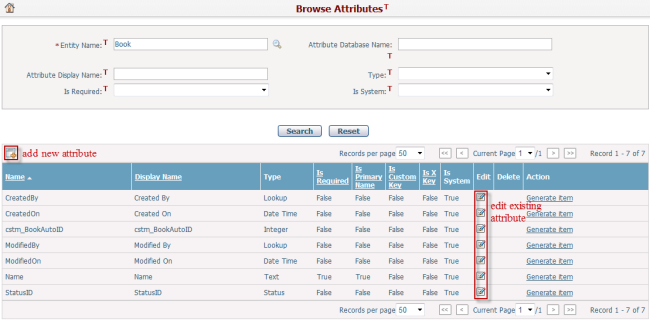
Step 2: Add or modify attributes of Book.

Step 3: Add relationship between Book and Author.

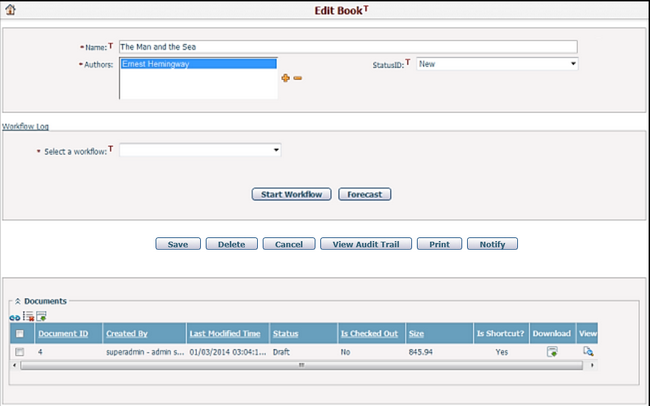
Step 4: Edit form layout of Book.

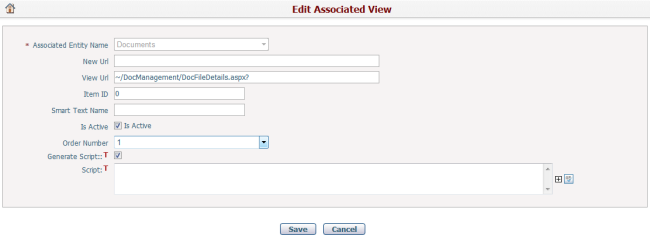
Step 5: Configure document association view in Book.


Step 6: Done! Now you can add new records of Book and related Author.

