Navigate Here: Documents > Browse Emails & Notifications
Introduction to Email Integration Feature
Email Integration is a feature that can integrate external emails into CIPAce system and automatically associate the imported emails to correct projects if email subject follows the predefined mapping rule. To enable this feature, some necessary configuration work is required, and most importantly, a specific email account must be set up to receive emails. Please contact your system administrator for further details.
If you want to import an email into CIPAce system and automatically associate the email with a specific project, you just need to include "PID[{ProjectID}]" (for example, "PID[102000]") in the email subject and add the email address that has been set for email integration as a recipient of the email.
After the email is received and processed by the system, Images embedded in email body as well as email attachments will be imported as email-related documents in CIPAce system.
Moreover, the email will also be placed in the Notification Inboxes for users whose emails in the system match "To/CC/BCC" of the email recipients. And it will be placed in the Notification Outbox for the user whose email in the system matches the address of the email sender.
Browse External Emails and Internal Notifications
You can browse all external emails received by the system email account for email integration as well as all notification messages generated within CIPAce system on the Browse Emails and Notifications page.

A brief summary of each email/notification is displayed in the table. The summary includes Subject, From, To, Sent Date, Size, and Has Attachment. You may sort the records by clicking the linked column header. If there are too many records to display on one page, you can use the navigation control to view another page, or you may increase the number of records per page. (Note: if "To" is the system email account for email integration, the email address will not be shown.)
You can quickly find the emails/notifications you want by using the search function. Enter search conditions in the search fields and click the Search button. The emails/notifications will be filtered and the table will show the records that match the search conditions. Click the Reset button to clear the latest input.
You can click the Delete icon to delete an email/notification. A dialog box will prompt to ask for confirmation before an email/notification can be deleted.
Click the icon ![]() in the Edit column to go to the Notification Detail of an email/notification.
in the Edit column to go to the Notification Detail of an email/notification.
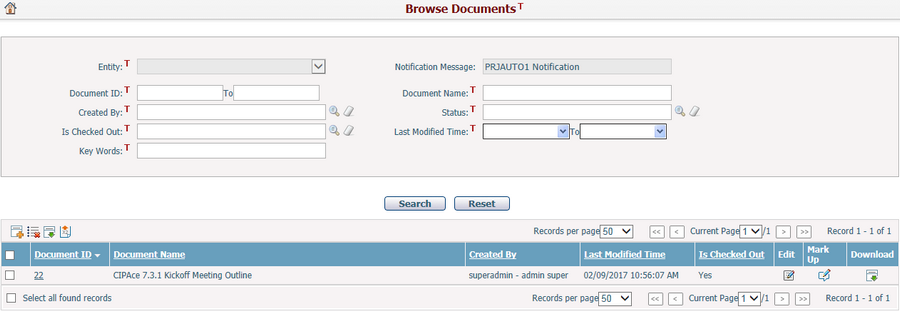
Click the icon ![]() in the Has Attachment column to go to the Browse Documents page. Here you can view all documents related to the selected email/notification.
in the Has Attachment column to go to the Browse Documents page. Here you can view all documents related to the selected email/notification.