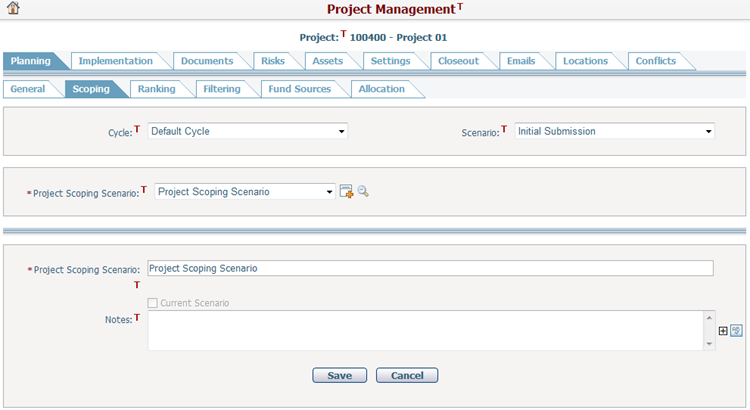
Navigate Here: Projects > Browse Projects; select a project > Planning tab > Scoping tab > Click Browse Project Scoping Scenarios icon
Project Scoping Scenarios are scenarios that will only be used in the scoping process of this project. Each scenario maintains its own set of scoping data. If there are two bidders for the project, for example, two scenarios are necessary for assessing the two possible outcomes of the project. Before scoping each project, the evaluator must select one project scoping scenario from the Project Scoping Scenario dropdown list on the Project Scoping tab page.
You can browse all of the scoping scenarios for the current project on the Browse Project Scoping Scenarios page.
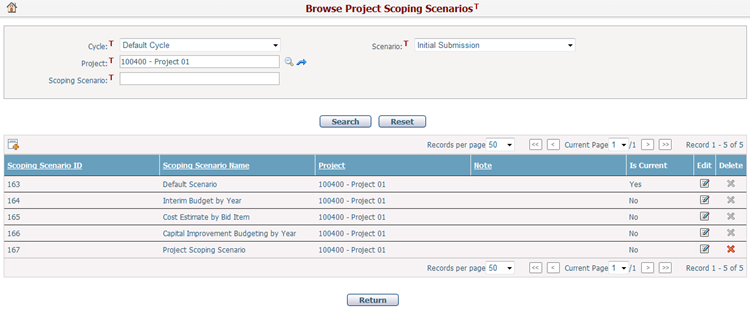
A brief summary of each scoping scenario is displayed in the table. The summary includes: Scoping Scenario ID, Scoping Scenario Name, Project, Note, and Is Current. You may sort the records by clicking the linked column header. If there are too many records to display in one page, you can use the navigation control to view another page, or you may increase the number of records per page.
You can quickly find the scoping scenarios you want by using the search function. Enter search conditions in the search fields and click the Search button. The scoping scenarios will be filtered and the table will show the records that match the search conditions. Click the Reset button to clear the search conditions.
Click the Edit icon ![]() at the end of a row to edit a scoping scenario. If the project scoping scenario is a batch default scoping scenario, name field and the Current Scenario checkbox of the batch default scoping scenario will be disabled and cannot be modified.
at the end of a row to edit a scoping scenario. If the project scoping scenario is a batch default scoping scenario, name field and the Current Scenario checkbox of the batch default scoping scenario will be disabled and cannot be modified.
Click the Delete icon ![]() at the end of a row to delete a scoping scenario. The current scoping scenario batch default scoping scenario cannot be deleted.
at the end of a row to delete a scoping scenario. The current scoping scenario batch default scoping scenario cannot be deleted.
Click the Add icon ![]() on the top left corner of the table to add a new scoping scenario.
on the top left corner of the table to add a new scoping scenario.
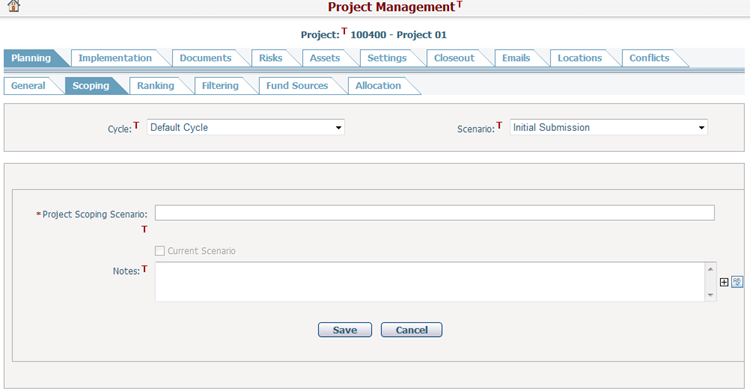
Click the Add Scoping Scenario icon
To add a scoping scenario, fill in the following fields:
Scoping Scenario Name: Enter a name for the project scoping scenario. It is required.
Current Scenario: If the scoping scenario of this project is set as the current working scenario, then the data which comes from the allocation tap will be affected by the scoping data of this project.
Notes: Description of the scoping scenario.
Click the Save button to save the new scoping scenario.
Click the Cancel button to cancel the creating process, and the page will be forwarded to the project scoping page.
|
Click the Edit icon
Click the Save button to save the changes. The changed information will be sent to the database server if you click the Submit button.
|