Navigate Here: Planning > Scoping > Scoping Area Management
You can browse all scoping areas available in the system on the Scoping Area Management page. These scoping areas will display as options to be selected on the Assign Projects to Scope page.

A brief summary of each scoping area displays in the table. The summary includes Area Display Name, Area Default Name, Is Active and Is System. You may sort the records by clicking the linked column header. If there are too many records to display in one page, you can use the navigation control to view another page, or you may increase the number of records per page.
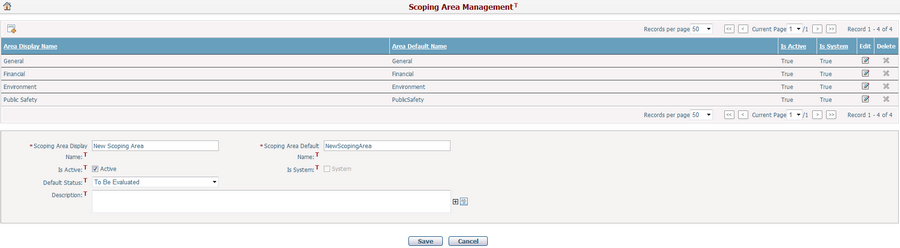
You can add a new scoping area by clicking the Add icon
To create a scoping area, fill in the following fields.
The required fields are noted with an asterisk (*).
Area Display Name*: The name of the scoping area displayed to the user.
Area Default Name*: The system default name of the scoping area.
Is Active: It indicates whether the area will display on the Assign Projects to Scope page. The system scoping areas are set to Active by default.
Is System: It indicates whether the area is a system area. It is unavailable to modify. The system scoping areas will be set to True by default.
Default Status: Set the default scoping status for any new project created after this scoping area has been saved successfully, no matter how the project is created, including add a new project manually, replicate an existing project as a new project, or cycle transfer/copy projects.
Description: Description of the scoping area.
Click the Save button to save the new scoping area.
Click the Cancel button to withdraw the current operation.
Note: The new scoping areas will only apply to those projects that are created after the establishment of these new scoping areas. |
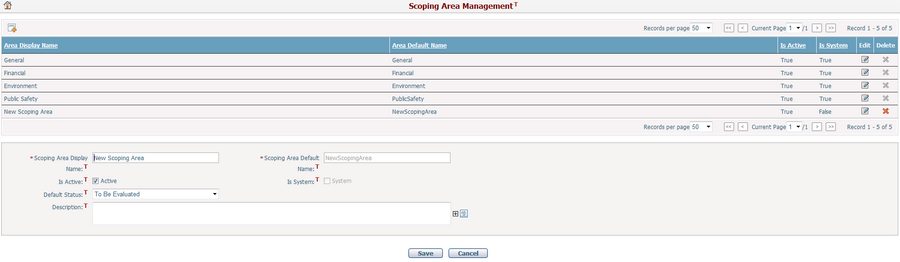
You can modify a scoping area by clicking the Edit icon
This form is the same as the Add Scoping Area form, except the Area Default Name is unavailable to modify.
Default Status: Set the default scoping status for any new project created after this scoping area has been saved successfully, no matter how the project is created, including add a new project manually, replicate an existing project as a new project, or cycle transfer/copy projects.
Click the Save button to save the changes.
Click the Cancel button to withdraw the current operation. |
You can delete a scoping area by clicking the Delete icon
|