Navigate Here: Utilities > Classifications > Manage Classifications
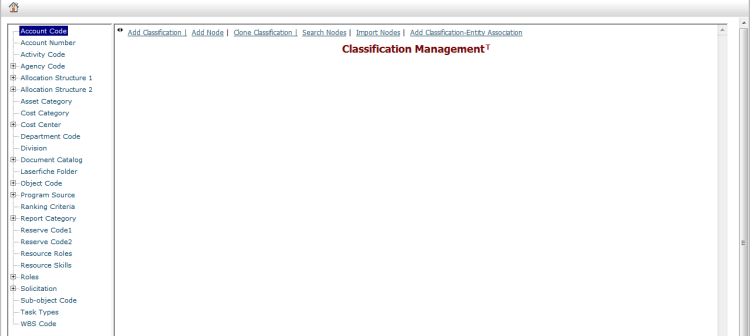
The Classification Management page is divided into two sections. The left section is a tree view framework which shows all the existing classifications, nodes, and sub-nodes. The right section is the classification management field. When you click on a classification or node name in the tree view, the system will show the corresponding classification or node information. The tree view can be hidden or extended by clicking the arrow buttons ![]() .
.
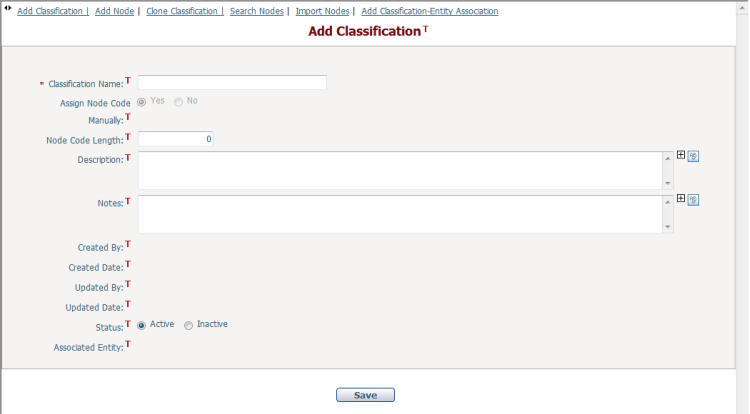
Clicking on the Add Classification link, the system will display an Add Classification form where the classification information can be entered.
The classification information includes:
The required fields are noted with an asterisk (*).
Classification Name*: The name of the classification and it must be unique.
Manually Assign Node Code: You can select Yes to allow entering the node code manually when adding or editing the node in this classification, or you can select No to let the system generate the node code automatically.
Node Code Length: the maximum length of Node Code string, default value is "0" (no limitation on Node Code length). You can input an integer between 0 and 50. If a classification's node code length does not equal to "0", any other classification node codes cannot be copied/cut and paste to this classification.
Description/Notes: Description/Notes of the classification.
Status: The status of a classification is either Active or Inactive. The classification cannot be used in other functions when its status is Inactive.
Click the Save button to add the new classification. |
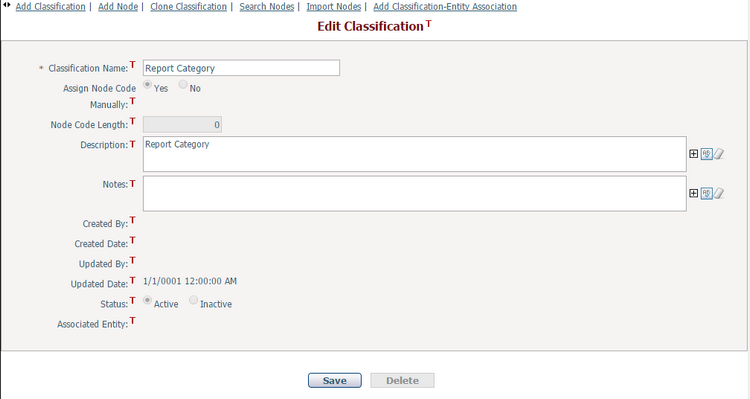
Select a classification on the tree view and the system will show the information in the classification management section for you to edit.
You can edit the Classification Name, Description, Notes.
When the classification has no node. you can edit the Node Code Length.
When the classification has not been used by other entities, you can edit the Status.
The Created By and Created Date fields show the information of who created this classification and when it was created.
The Updated By and Updated Date fields show the information of who updated this classification and when it was updated.
The Associated Entity field shows all entities that are associated with the current classification. Click on the link of entity name, you can go to the corresponding Edit Classification-Entity Association page.
Click the Save button to save the changes.
Click the Delete button to delete the classification. If the classification is used in other functions, it cannot be deleted. |
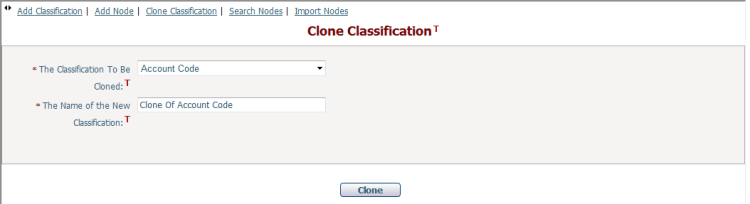
Click the Clone Classification link to add a new classification by cloning an existing classification.
The required fields are noted with an asterisk (*).
The Classification To Be Cloned*: Select a classification to be cloned from the dropdown list. It defaults to the classification selected on the left tree view.
The Name of the New Classification*: The system will generate a name for the new classification which is Clone of [Classification Name] you selected by default. You can also modify it.
Click the Clone button to save this new classification. The classification to be cloned, and all of its nodes, will be cloned to the new classification. |
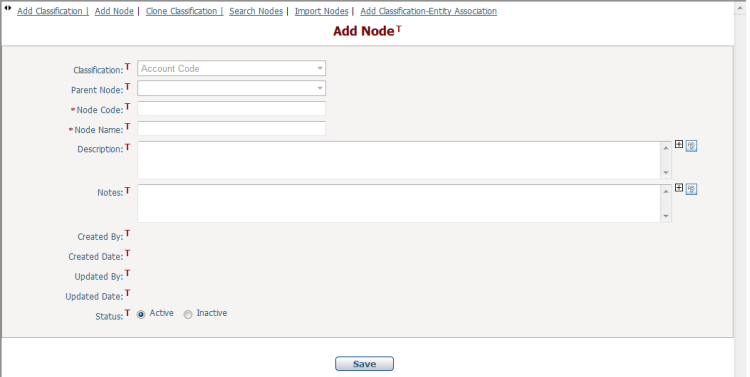
You can select a classification or a node on the tree view and click the Add Node link to add a node to the selected classification or node. You need to enter the node information which includes:
The required fields are noted with an asterisk (*).
Classification: The classification which the node is added to. The classification field automatically displays the classification name which you selected on the tree view and it is not editable. If you select a node on the tree view, the classification that the selected node belongs to is displayed in this field.
Parent Node: The parent node which the new node is added to as its sub-node. The Parent Node field displays the node name which you selected on the tree view and it is not editable.
Node Code*: The code of the node. The node code must be unique to the classification.
Node Name*: The name of the node. The node name must be unique to the classification.
Description/Notes: Description/Notes of the node.
Status: The status of a classification is either Active or Inactive. The node cannot be used in other functions if its status is Inactive.
Click the Save button to add the new node. |
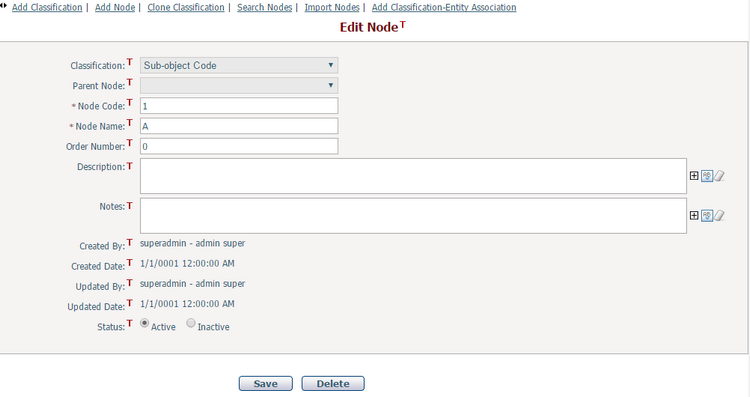
Select a node on the tree view and the system will show the node information in the classification management section for you to edit.
You can edit the Node Code, Node Name, Description, Notes, and Status. The Classification and Parent Node cannot be modified. The Created By and Created Date fields show who created this node and when it was created. The Updated By and Updated Date fields show who updated this node and when it was updated.
Click the Save button to save the changes.
Click the Delete button to delete this node. If the node is used in other functions, it cannot be deleted. |
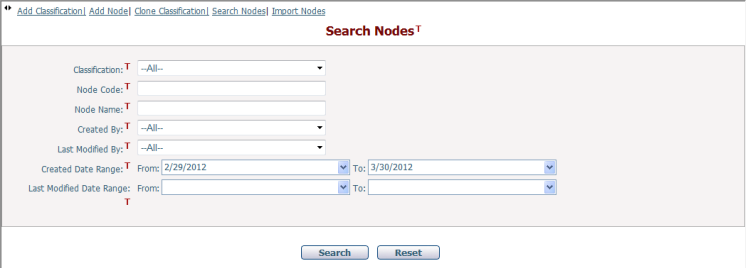
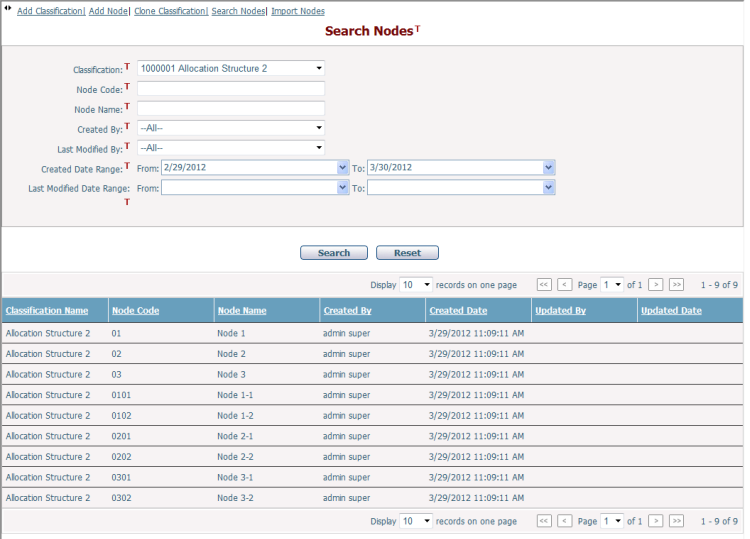
You can search nodes by clicking the Search Node link. The system will display a form for entering the search conditions and you can click the Search button to search nodes.
The nodes which match the search conditions will be listed in the table. The table also shows the summary information of the nodes.
You can double click the record of one of the nodes in the table to view or edit its detail information.
Click the Reset button to clear the latest search conditions. |
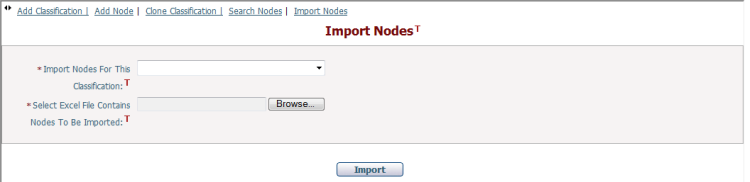
You can import nodes by clicking the Import Nodes link and the system will display the Import Nodes form.
You must select a classification from Import Nodes for This Classification dropdown list and click the Browse button to Select an Excel file which contains the nodes. Then click the Import button to import the nodes from the selected file. The imported nodes will list in the table.
The correct format of the imported Excel file should satisfy the following conditions:
❖NodeCode, ParentNodeCode, NodeName, Description, and Notes should be in the first row as column headers (see example below). ❖Each row from the 2nd row in the Excel file represents a new node to be imported. ❖NodeCode and NodeName are required. ParentNodeCode is required if the node is to be created as a sub-node; it should be left blank if the node is to be created at the first level. ❖NodeCode must be unique under the same classification and NodeName unique under the same parent node.
Only the rows that contain valid data will be successfully imported. If ParentNodeCode does not exist in the system, the node will be created at the first level under the classification. |
Add Classification-Entity Association
You can add a classification-entity association for the currently selected classification or another classification by clicking the Add Classification-Entity Association link, and the system will open the Add Classification-Entity Association page.
|