Navigate Here: Users > User Management > Browse Users > Select a user from the table
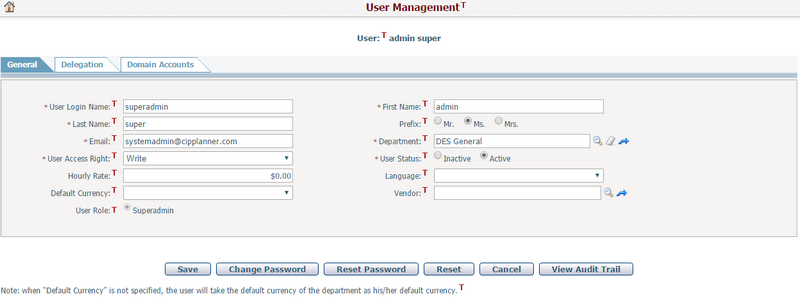
The administrator can view and modify user information on the User Management page.
You may edit general user information by modifying the following fields:
The required fields are noted with an asterisk (*).
User Login Name*: A text string by which the user logs into the system.
First Name*, Last Name*, Prefix, E-mail*: The user’s personal information.
Department*: The department to which the user belongs. Click on the magnifier icon
User Access Right*: Select an overall access right for the user. User Access Right is to give user permission to access (Read Only or Write) all of the modules in the system. The access right can be specified by module and function and overridden with Access Control. Also, every Read Only user takes up a Read Only license, while every Write user takes up a Full Access license. See Browse License Users.
User Status*: If you select Inactive, the user has no permission to log into the system.
Hourly Rate: Enter user's hourly pay rate.
Language: The default language of the user.
Default Currency: The default currency for the user to enter or view monetary data in the system. Note: when it is not specified, the user will take the default currency of the department as his/her default currency.
Vendor: Specify a vendor that is associated with the current user. When a vendor is selected, you can click the View Vendor Information icon to enter Manage Vendor General Informatione page directly. If you enter this page by clicking on the Add icon of the Vendor Users Management,this field will be defaulted to that vendor and it cannot be changed.
User Role*: Select the user's role. A user role reflects a particular job function of a group of users. You can create a role in Add Role. You may configure the program access rights and data access rights for the individual user or role in Access Control.
Click the Save button to save the changes. The system will refresh the User Management page and display the saved data in the form.
Click the Delete button to delete the current user. The system will then go to the Browse Users page.
Click the Reset button to clear the latest changes.
Click the Cancel button to discard latest changes. The system will then go to the Browse Users page.
Click the View Audit Trail button to view the update history of the current user.
Change Password
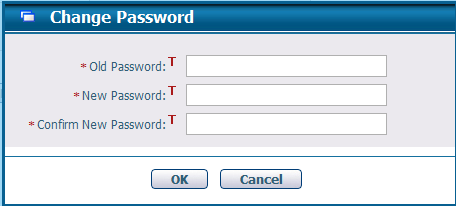
It is a function for normal user, he can click the Change Password button to change his own login password. The system will pop up the Change Password pop-up window:
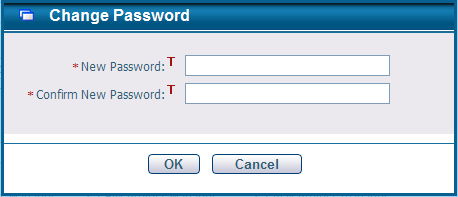
If the user has an old password, he needs to enter the Old Password first, and then enter the New Password & Confirm New Password, then click the OK button to save the new password and return to the User Management page. Otherwise, he only needs to enter the New Password & Confirm New Password as shown below.
Reset Password
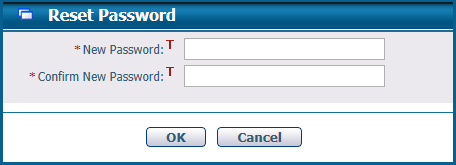
This is a function for the administrator, and he can click the Reset Password button to change any user's login password. The system will pop up the Reset Password window:
To change the password, please enter the New Password & Confirm New Password, then click the OK button to save the new password. The system will return to the User Management page.
Note: After the password has been reset successfully, the system will send a email to notify the user about the new password automatically, and for security purpose, a alert message will be displayed while the user logs into the system by the new password at the first time.
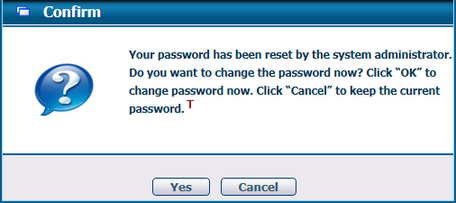
Click the Yes button to change the password immediately or click Cancel to keep the old password.
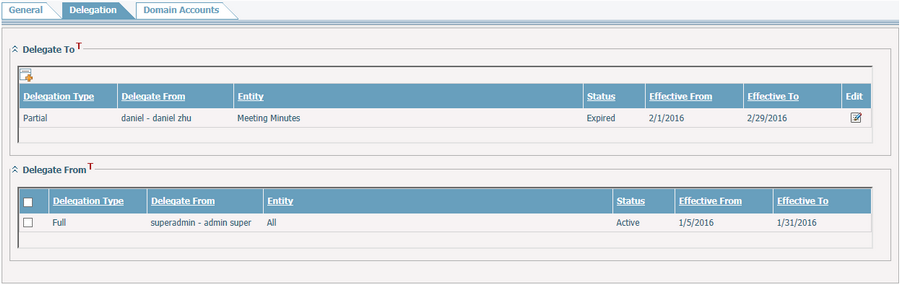
Delegation To: lists all delegation rules having the current user as the trustor. The following information will be displayed in the table:
❖Delegation Type: specifies the type of the delegation, Full or Partial ❖Entity: the entities related to the delegation rule. For a full delegation, “All” will be displayed to indicate the delegation include all entities. ❖Status:specifies the status of the delegation, Active or Inactive ❖Effective From: the starting date of the effective period of the delegation rule ❖Effective To: the ending date of the effective period of the delegation rule Click on the Add icon
Delegate From: lists all delegation rules having the current user as the trustee. The following information will be displayed in the table:
❖Delegation Type: specifies the type of the delegation, Full or Partial ❖Entity: the entities related to the delegation rule. For a full delegation, “All” will be displayed to indicate the delegation include all entities. ❖Delegate From: the trustor of the delegation rule ❖Status:specifies the status of the delegation, Active or Inactive ❖Effective From: the starting date of the effective period of the delegation rule ❖Effective To: the ending date of the effective period of the delegation rule
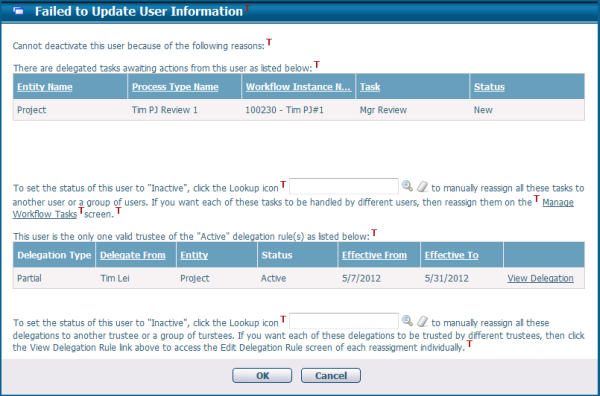
How Delegation may affect deactivating a user
When you deactivate a user and click on the Update button, the system will check:
❖If there are still delegated tasks awaiting actions from the user ❖or if the user is the only valid trustee of active delegation rules.
Handling Delegated Tasks
Handling Delegation Rules
The information regarding the delegation rules will be listed in a table. Click the Lookup icon (in the message below the table) to batch reassign all these delegations to other trustee(s) or click the View Delegation hyperlink of each delegation to reassign individually.
|
The domain accounts tab lists the domain accounts that associate with the user.
User Login Name(CIP), Domain Account, Domain, and Server of each record is shown in the table.
Based on system settings, there could be two scenarios: one is that a CIPAce user account can only be associated with one domain account, the other one is that a CIPAce user account can be associated with multiple domain accounts.
For the first scenario, when there is no existing associated domain account, the Associate icon
For the second scenario, when there is no existing associated domain account, the Associate icon
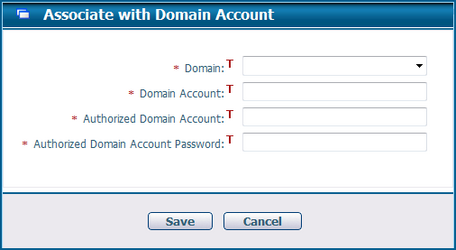
To associate a domain account with the current user, click the Associate icon
Domain*: Select a domain from the Domain dropdown list.
Domain Account*: Enter a domain account from the domain you selected.
Authorized Domain Account*: Enter a domain account to connect to the selected domain. This field is invisible if the selected domain already has a saved account in database.
Authorized Domain Account Password*: Enter the password of the authorized domain account. This field is invisible if the selected domain already has a saved account in database.
Click the Save button to associate the entered domain account with the current user. Click the Cancel button to close the dialog box without associating.
To disassociate a domain account with the current user, select the domain account and click the Disassociate icon
If the current user's CIP Account has a password, the disassociation will take effect immediately.
If not, a Change Password window will pop up to ask the user to set a password. When the user sets the password and click OK button, the disassociation will take place.
|