Navigate Here: Implementation > Designer Submittals > Browse Design Reviews> select a Design Review
You can manage documents and the corresponding document folders on Documents tab page of Edit Design Review page.
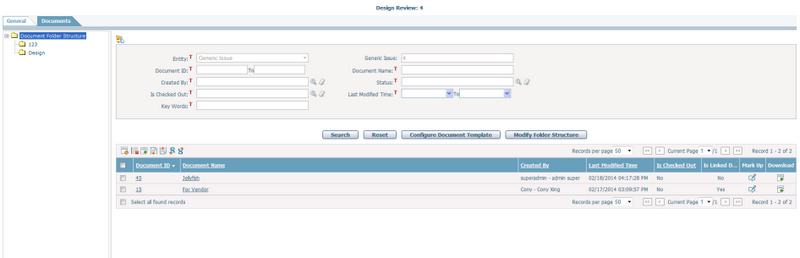
At the left panel of this page, it displays the Document Folder Structure of the current Design Review. When loads into this tab page, root folder will be selected by default. All documents under the root folder can be tracked.
Click the Display All Documents icon![]() , all documents under all folders of current Design Review will be indicated.
, all documents under all folders of current Design Review will be indicated.
You can add a new document by clicking the Add icon ![]() at the upper left corner of the table and the system will go to the Add Document page.
at the upper left corner of the table and the system will go to the Add Document page.
You can download the latest version of a document by clicking the Download icon ![]() in the Download column of each record row.
in the Download column of each record row.
You can redline the document by clicking the Markup icon ![]() , the system will then direct you to the Online Document Markup page in a new tab.
, the system will then direct you to the Online Document Markup page in a new tab.
You can delete multiple documents by selecting target documents and then clicking on Batch Delete icon ![]() at the upper left corner of the table. Note that deleting linked document will delete the document shortcut from current entity record while the document and its attachment will be kept intact. Deleting actual document will delete the document and its attachment from the system.
at the upper left corner of the table. Note that deleting linked document will delete the document shortcut from current entity record while the document and its attachment will be kept intact. Deleting actual document will delete the document and its attachment from the system.
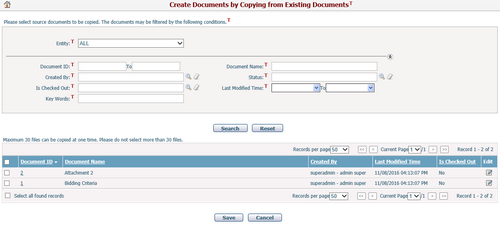
You can create documents for the current Design Review by copying existing documents in system via clicking the Batch Copy Documents In icon ![]() at the upper left corner of the table. Create Documents by Copying from Existing Documents page will prompt as below. Select document(s) from the data grid and click the Save button. The documents will be created to the pre-selected folder successfully.
at the upper left corner of the table. Create Documents by Copying from Existing Documents page will prompt as below. Select document(s) from the data grid and click the Save button. The documents will be created to the pre-selected folder successfully.
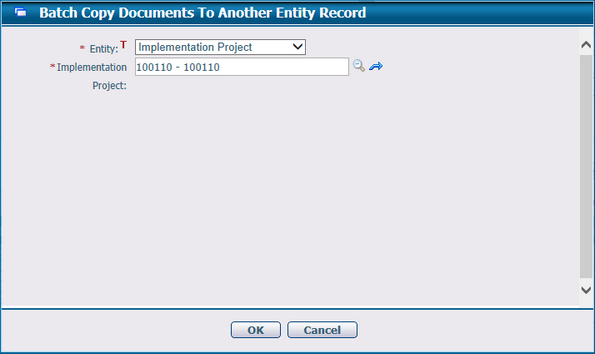
You can copy document(s) from the current Design Review to another entity record by clicking the Batch Copy Documents Out icon![]() at the upper left corner of the table. System will direct to Batch Copy Documents To Another Entity Record page as below. Select target entity record and click the OK button, the document(s) will be successfully copied to the new entity record. By default, the documents will be copied to root folder of the new entity record.
at the upper left corner of the table. System will direct to Batch Copy Documents To Another Entity Record page as below. Select target entity record and click the OK button, the document(s) will be successfully copied to the new entity record. By default, the documents will be copied to root folder of the new entity record.
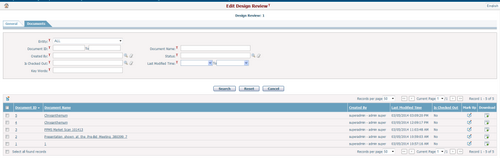
You can create linked documents from existing documents by clicking the Create Linked Document(s) In icon ![]() at the upper left corner of the table. System will direct to the page as below. You can select document(s) and click the Create Linked Document(s) Out
at the upper left corner of the table. System will direct to the page as below. You can select document(s) and click the Create Linked Document(s) Out![]() icon, the document(s) will be associated to the pre-selected folder of the current design review.
icon, the document(s) will be associated to the pre-selected folder of the current design review.
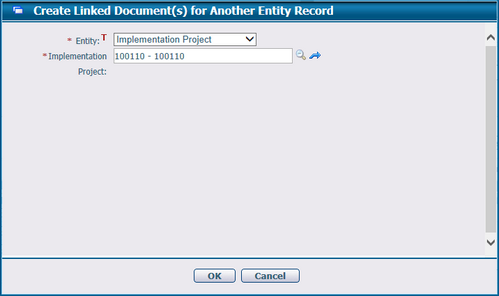
You can create linked document(s) from current Design Review to another entity record by clicking the Create Linked Document(s) Out icon ![]() at the upper left corner of the table. System will direct to Create Linked Document(s) for Another Entity Record page as below. Select target entity record and click the OK button, the document(s) will be successfully associated to the new entity record. By default, the documents will be associated to root folder of the new entity record.
at the upper left corner of the table. System will direct to Create Linked Document(s) for Another Entity Record page as below. Select target entity record and click the OK button, the document(s) will be successfully associated to the new entity record. By default, the documents will be associated to root folder of the new entity record.
You can switch the document folder structure for current design review by clicking the Configure Document Template button. Configure Document Template page will prompt as below.
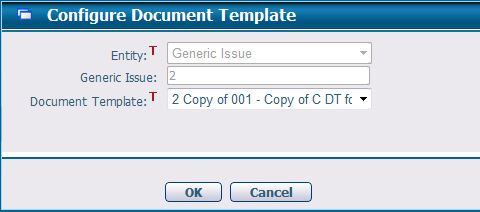
All published document templates of the current entity will display under the Document Template dropdown. Select a desired one and click the OK button, the new document template will be applied to the current design review instantly.
You can modify the document folder structure for current design review by clicking the Modify Folder Structure button.
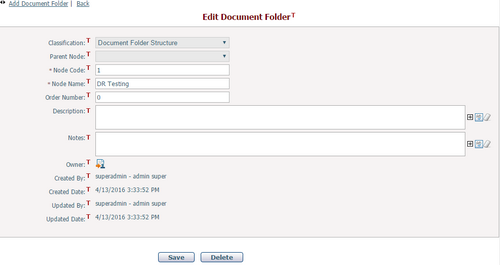
❖Click on one folder, the Edit Document Folder page will refresh at the right side where you can update corresponding information. Note that if the folders are the ones that are applied from document template, users are not allowed to change any information except Owner and Folder Name.
Click the Save button to save the latest modifications.
Click the Delete button to delete the current folder.
❖Click the Add Document Folder link at the top corner to add new folders, the Add Document Folder page will prompt at the right side where you can fill in the required information.
❖Click the Back link at the top corner, system will go back to the Documents tab page of Edit Design Review page.