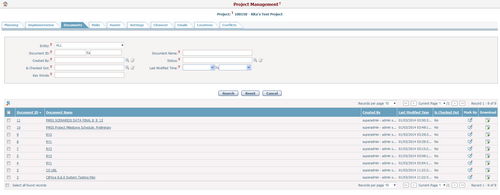
Navigate Here: Planning > Risks > Browse Risks; select a risk > Documents tab
On the Documents tab page, you can view all documents attached to the current risk.

A brief summary of each associated document displays in the table. The summary includes Document ID, Document Name, Created By, Last Modified Time, Is Checked Out, Is Linked Document, Mark Up and Download. You can sort the files by clicking the linked column headers. If there are too many records to display on one page, you can use the navigation control to view another page, or you may increase the number of records per page.
You can add an external document to the current vendor by clicking ![]() icon. The system will go to the Add Document page. Note that all new added documents by this method are non-linked documents(physical documents).
icon. The system will go to the Add Document page. Note that all new added documents by this method are non-linked documents(physical documents).
You can delete multiple documents in batch by clicking the Batch Delete icon ![]() at the upper left corner of the table. Note: Deleting linked document will delete the document shortcut from current entity record while the document and its attachment will be kept intact. They are still visible in Browse Documents page. But deleting actual document will delete the document and its attachment from the system.
at the upper left corner of the table. Note: Deleting linked document will delete the document shortcut from current entity record while the document and its attachment will be kept intact. They are still visible in Browse Documents page. But deleting actual document will delete the document and its attachment from the system.
You can download documents in batch into the local path by clicking the Batch Download icon ![]() at the upper left corner of the table.
at the upper left corner of the table.
You can redline the document by clicking the Markup icon ![]() , the system will then direct you to the Online Document Markup page in a new page.
, the system will then direct you to the Online Document Markup page in a new page.
You can create document(s) to the current Risk via copying from existing document(s) by clicking the Batch Copy Documents In icon![]() . Create Documents by Copying from Existing Documents page will pop up as below.
. Create Documents by Copying from Existing Documents page will pop up as below.
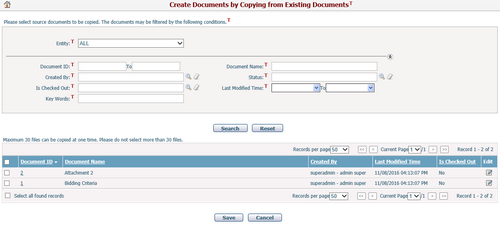
- You can find the documents you want by specifying the search conditions and pressing the Search button.
- Select the documents to be copied and click the Save button. New documents will be created for the current risk and the system will go back to the Documents tab page of the Manage Risk page. Key Words, Description of the source documents will be copied to the new documents as well.
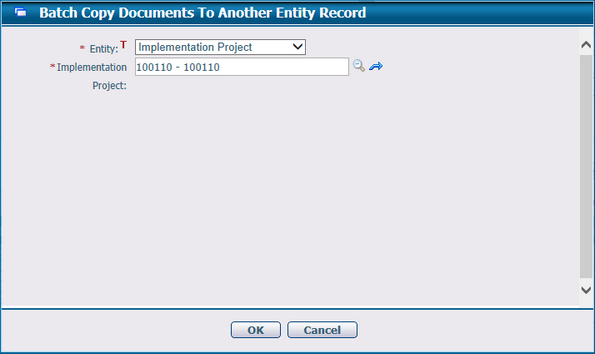
You can batch copy documents of the current risk to another business entity record (as new documents) by selecting the specific documents and then clicking the Batch Copy Documents Out icon ![]() . The system will lead to the page below. Fill in the required information and click the OK button. System will go back to Manage Risk page and the documents will be successfully copied to the root folder of the target entity records.
. The system will lead to the page below. Fill in the required information and click the OK button. System will go back to Manage Risk page and the documents will be successfully copied to the root folder of the target entity records.
You can create linked documents from existing documents in CIPAce to the current Risk by clicking the Create Linked Documents In icon![]() at the upper left corner of the table. When clicking the Create Linked Documents In icon
at the upper left corner of the table. When clicking the Create Linked Documents In icon![]() Page as below will pop up. Select documents in the table and click the Create Linked Documents Out icon
Page as below will pop up. Select documents in the table and click the Create Linked Documents Out icon![]() , the documents will be successfully associated to the current risk.
, the documents will be successfully associated to the current risk.
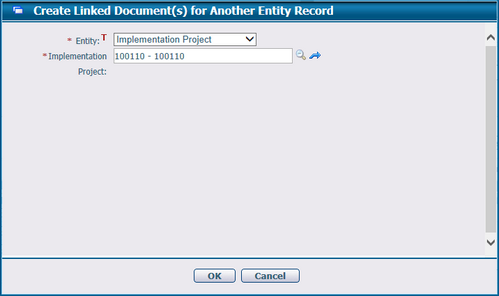
You can create linked documents to another entity record by clicking the Create Linked Documents Out ![]() icon at the upper left corner of the table.The system will lead to the page below. Fill in the required information and click the OK button. System will go back to Risk Management page and the linked documents will successfully created to the root folder of the target entity records.
icon at the upper left corner of the table.The system will lead to the page below. Fill in the required information and click the OK button. System will go back to Risk Management page and the linked documents will successfully created to the root folder of the target entity records.